Building 3D models in SketchUp with Claude Code
We're turning an old one-room village school in Portugal into a house. Before spending anything on builders I wanted to see the options: where the kitchen goes, whether a bed fits on a mezzanine, how a stair can reach it without blocking a door, and where a deck and a small pool could sit between trees that can't be cut down.
I'm not an architect and I don't use SketchUp. So on a Friday night in September 2026 I typed one line into Claude Code: "Can you make 3d models in sketchup files based on images of places?"
What I wanted, and what I started with
The goals grew over the week:
- Decide the layout. Kitchen, stair, sleeping mezzanine, bathroom, deck, pool, garden, parking.
- Compare options side by side. "You should make all the different suggestions in different models", so each idea got its own file.
- Respect the real constraints. The cork oaks stay, the existing doors and windows stay, and the mezzanine has to make sense under the building rules.
- Make it look real. Plain SketchUp "doesn't look realistic and is full of mistakes". I wanted renders I could show people.
- Walk through it. An aerial loop and then a walk through the rooms, like a visitor would.
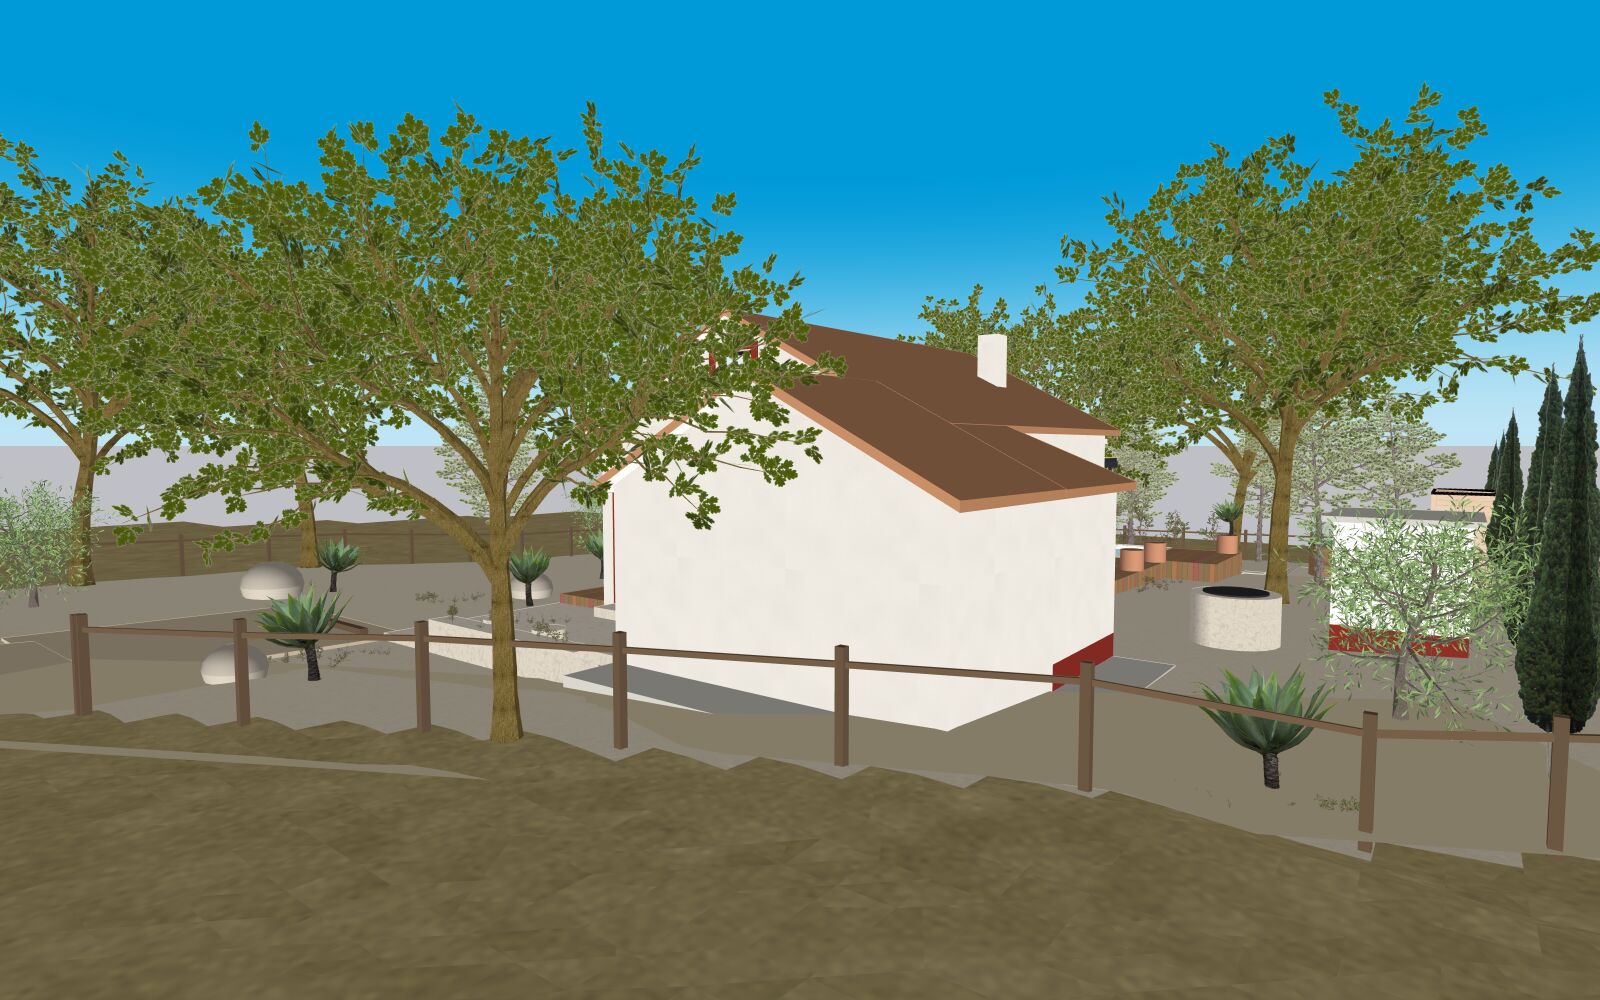
The starting point was thin: a map pin, "the building is 8 m by 6 m", the wall thickness and a guess at the roof height. The first model came from that and one old street-view image, and the early versions looked like this:
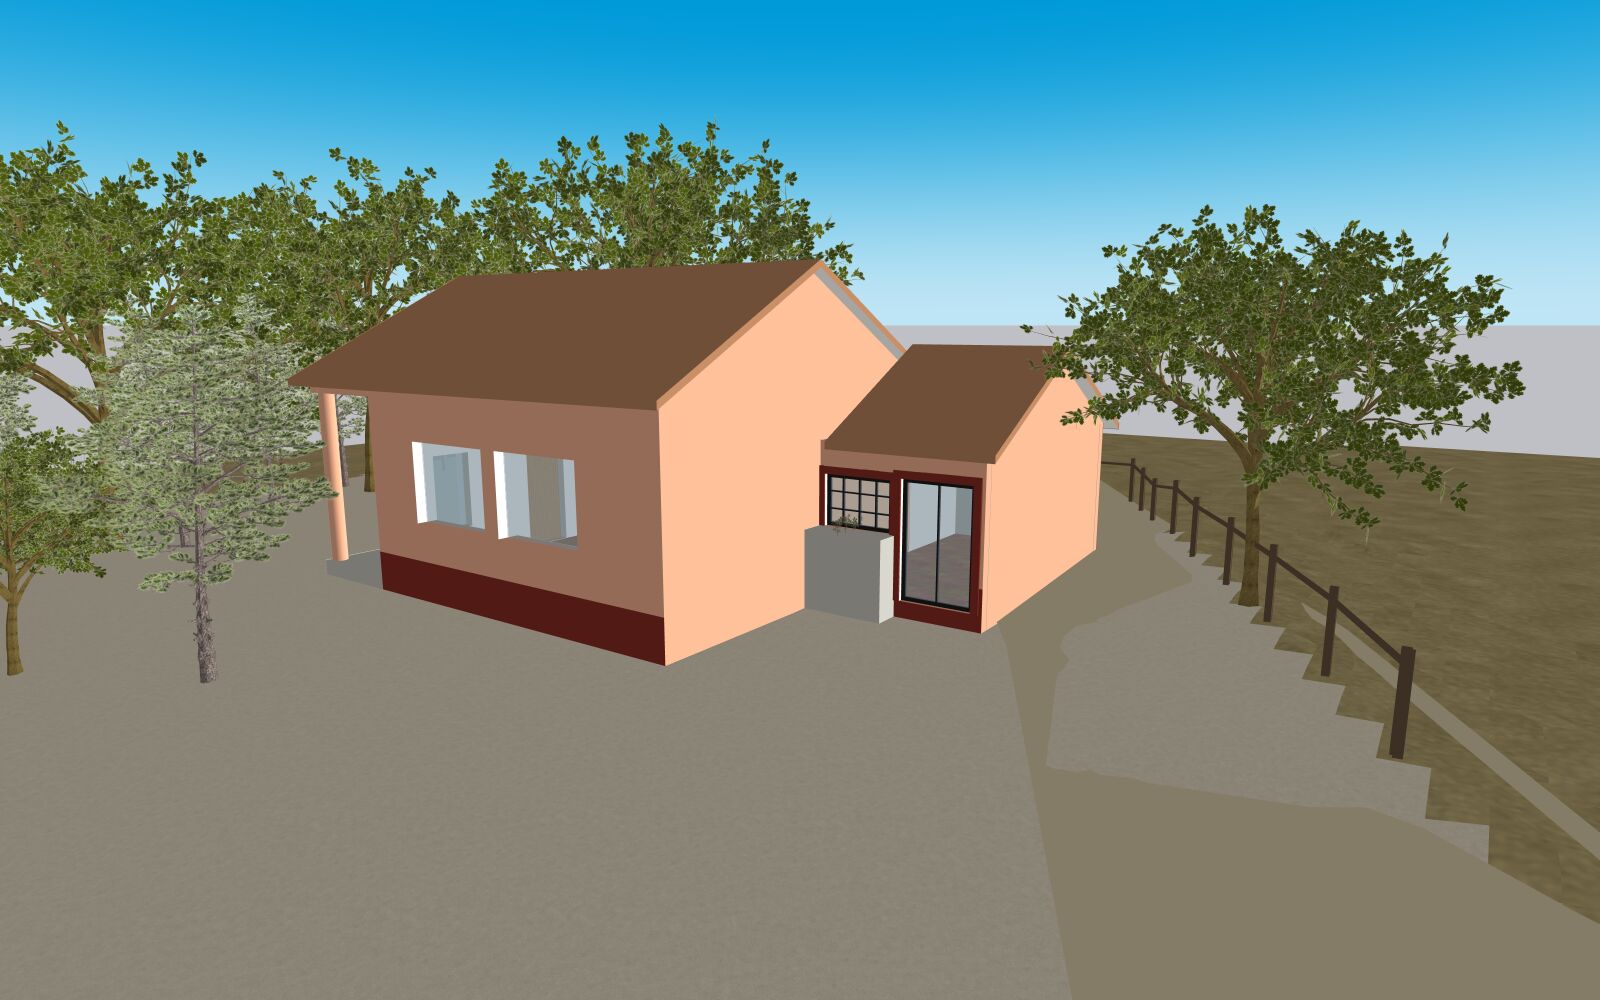
It got accurate once better inputs arrived: photos of the architect's drawings, which gave a scale, and the topographic survey, a CAD file that Claude converted into a JSON file with the exact outline, levels, trees and plot boundary. From then on the model of the existing building matched the real one:
The setup: the model is code
There is no SketchUp plugin or MCP server in the middle. Claude Code drives SketchUp 2026 from the terminal: it opens SketchUp with a Ruby script passed at startup, the script builds the whole building, saves the .skp file, renders preview images from a set of named cameras, and quits.
The building itself is a parametric Ruby program, about 2,900 lines plus 1,100 for materials and decoration. Wall thickness, roof pitch, where the stair starts and which wall the kitchen sits on are constants at the top. Changing the design means changing a number, not dragging faces around.
Around that:
- Real furniture and trees come from SketchUp's public 3D Warehouse as GLB files, imported at real scale.
- Textures are partly generated with Python, partly scanned PBR materials from Poly Haven.
- The survey is a CAD drawing converted to JSON with open-source tools, so the plot, levels and trees come from measurements.
- Blender rebuilt the house in Python for photoreal renders with Cycles.
- Small helpers draw plan sketches before a big change and make contact sheets of the previews.
The loop
Every change went round the same loop:
- Describe it in one line. Often from my phone while looking at the last renders: "the stairs are blocking the doors to the bedroom", "the bed is almost touching the roof beam".
- Sketch before building. For anything that moved the layout, Claude first drew a simple plan in the terminal so I could confirm it understood. That one habit saved more rebuilds than anything else.
- Build a new version. Each build went into a new file with its own version name, never the one I had open, so SketchUp never got stuck on a file conflict and old options stayed around to compare.
- Review the previews. Every build rendered 30-odd images from fixed cameras: the four corners outside, each room, and "door views" showing what you see when you walk in through each door. Claude looked at them first, I looked after.
Options got their own versions too: kitchen on the north, east or west wall, a low or high mezzanine, and about a dozen stair layouts. The one I kept is version 34.
Results
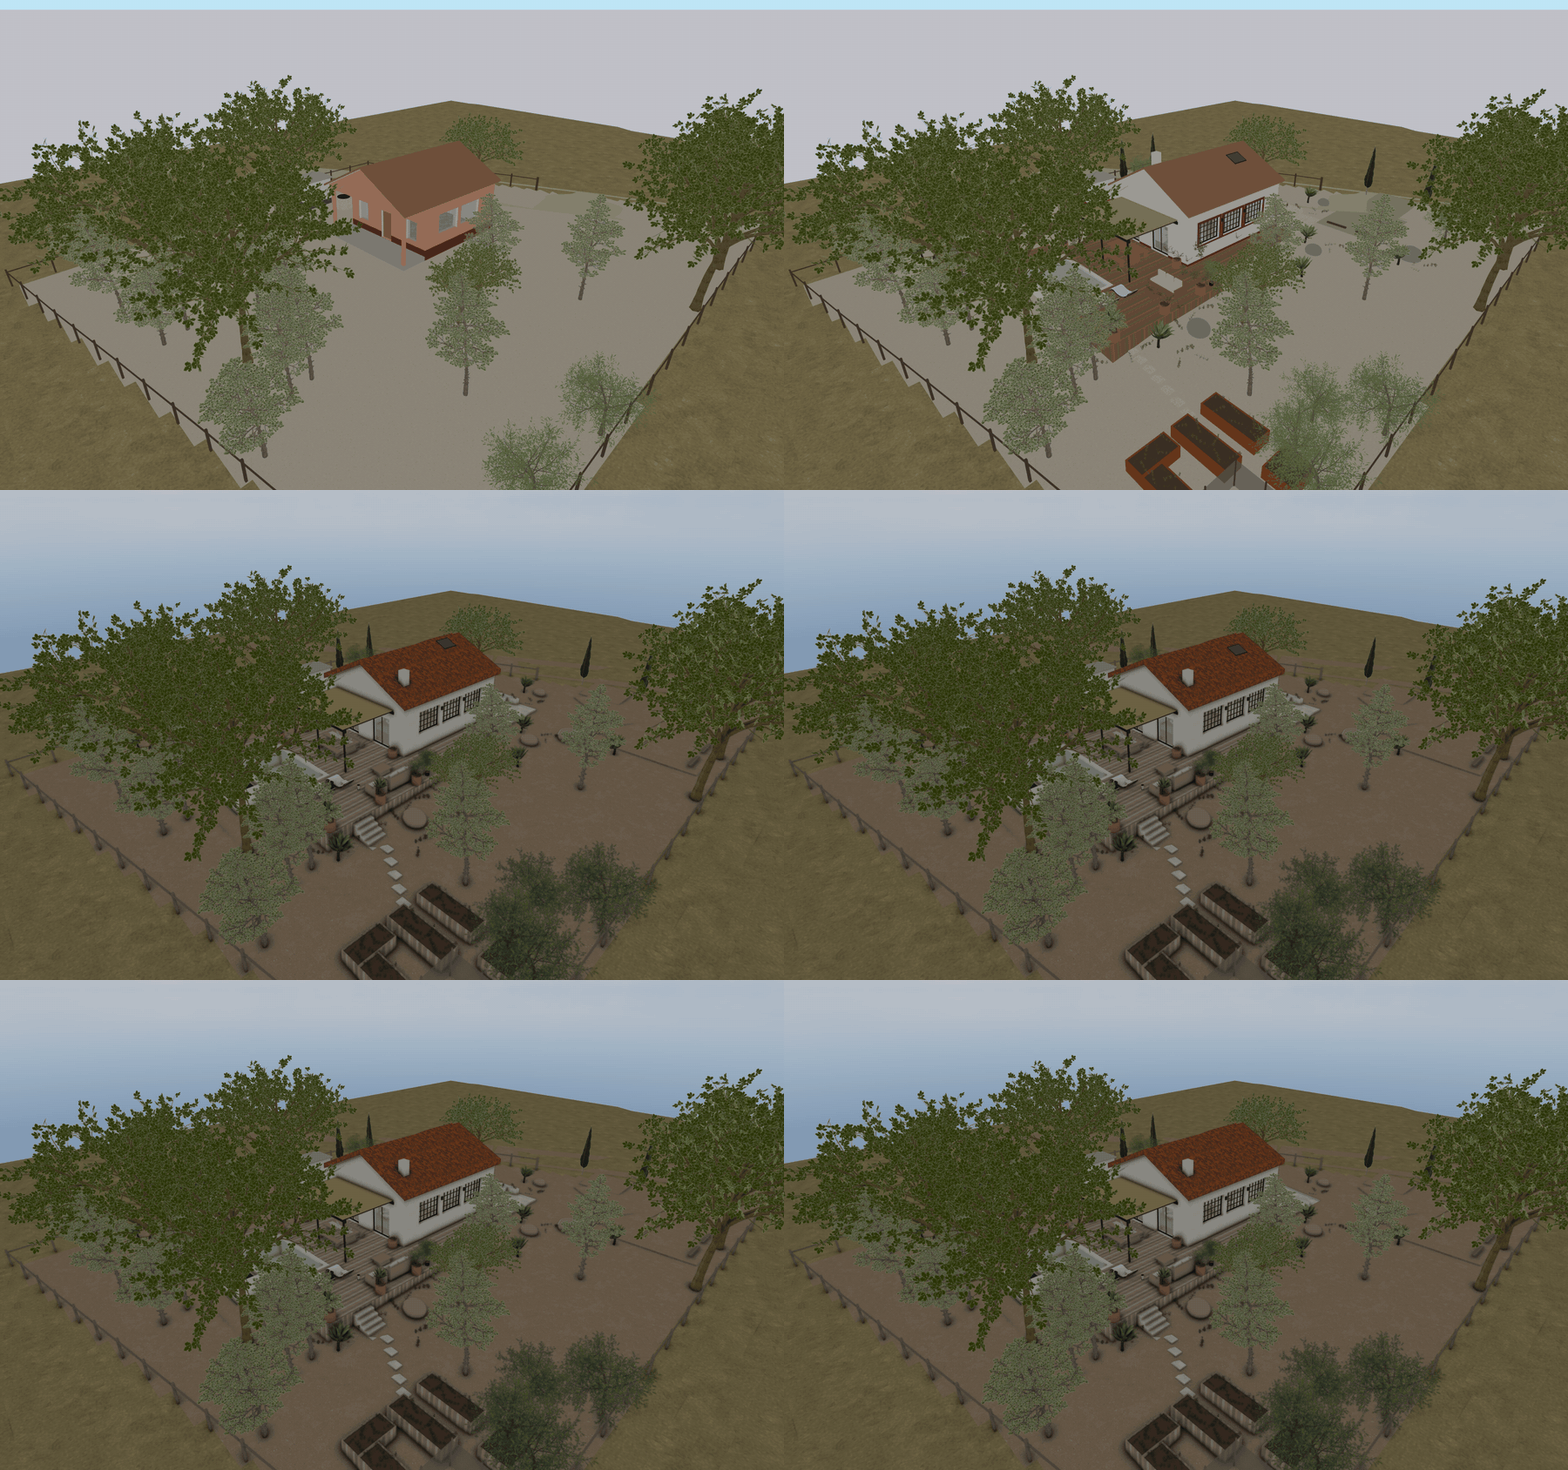
The same aerial camera across versions shows the design settling:
And the living room, version by version:
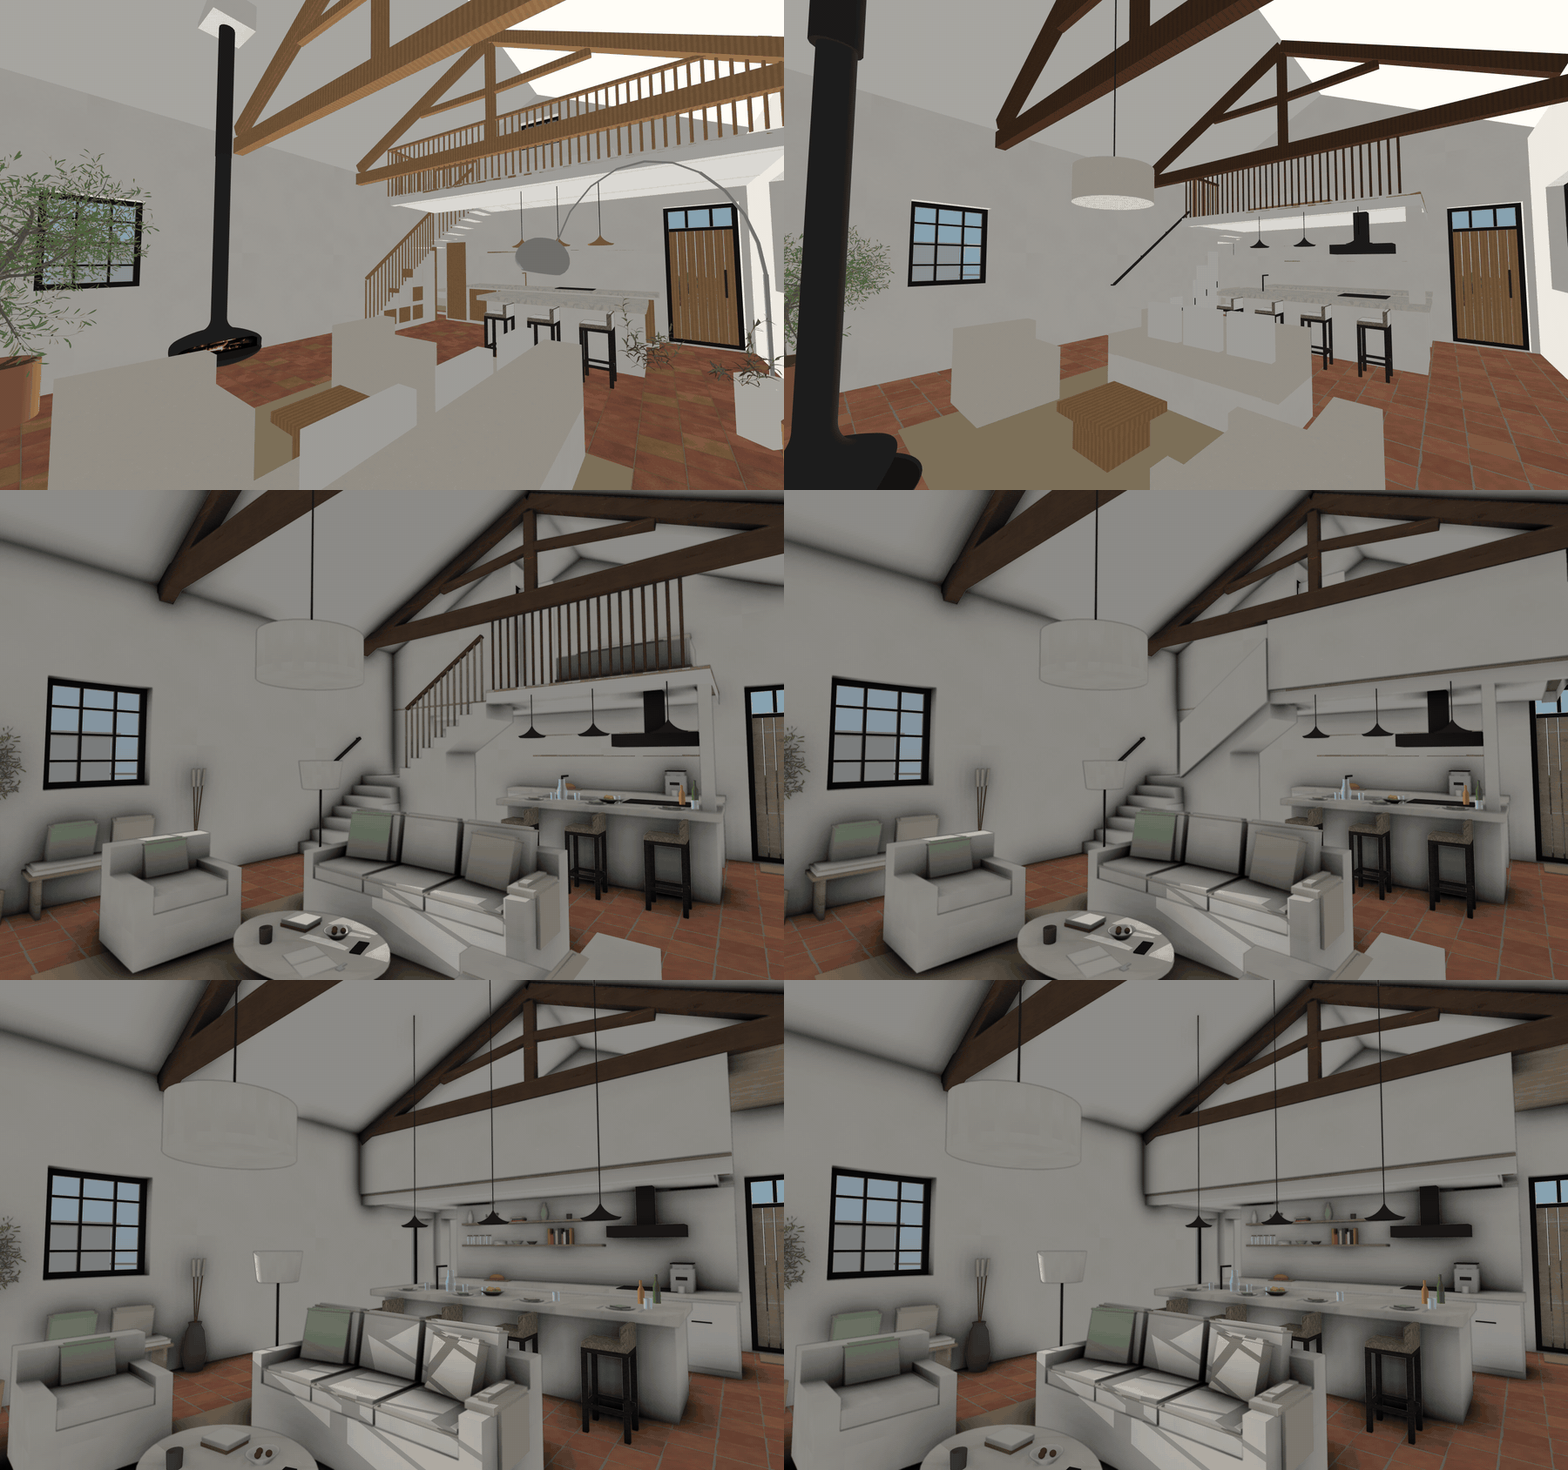
The chosen design, version 34: a low sleeping mezzanine over the kitchen, a stair along the north wall, a deck with a small pool, the cork oaks kept.
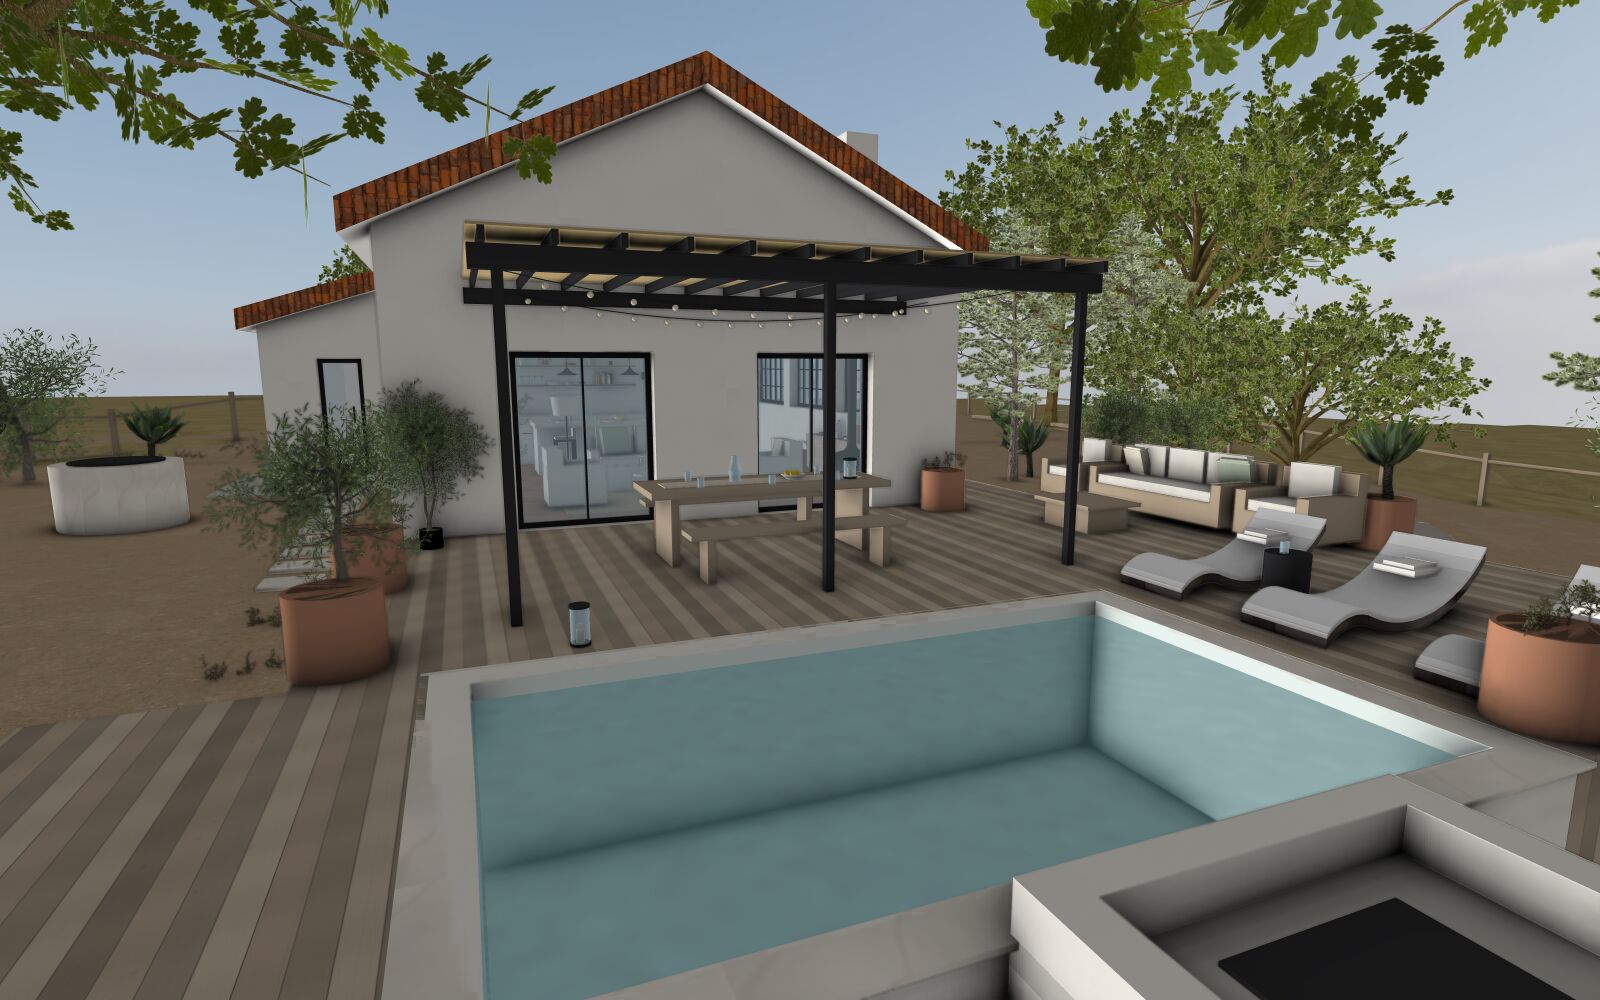
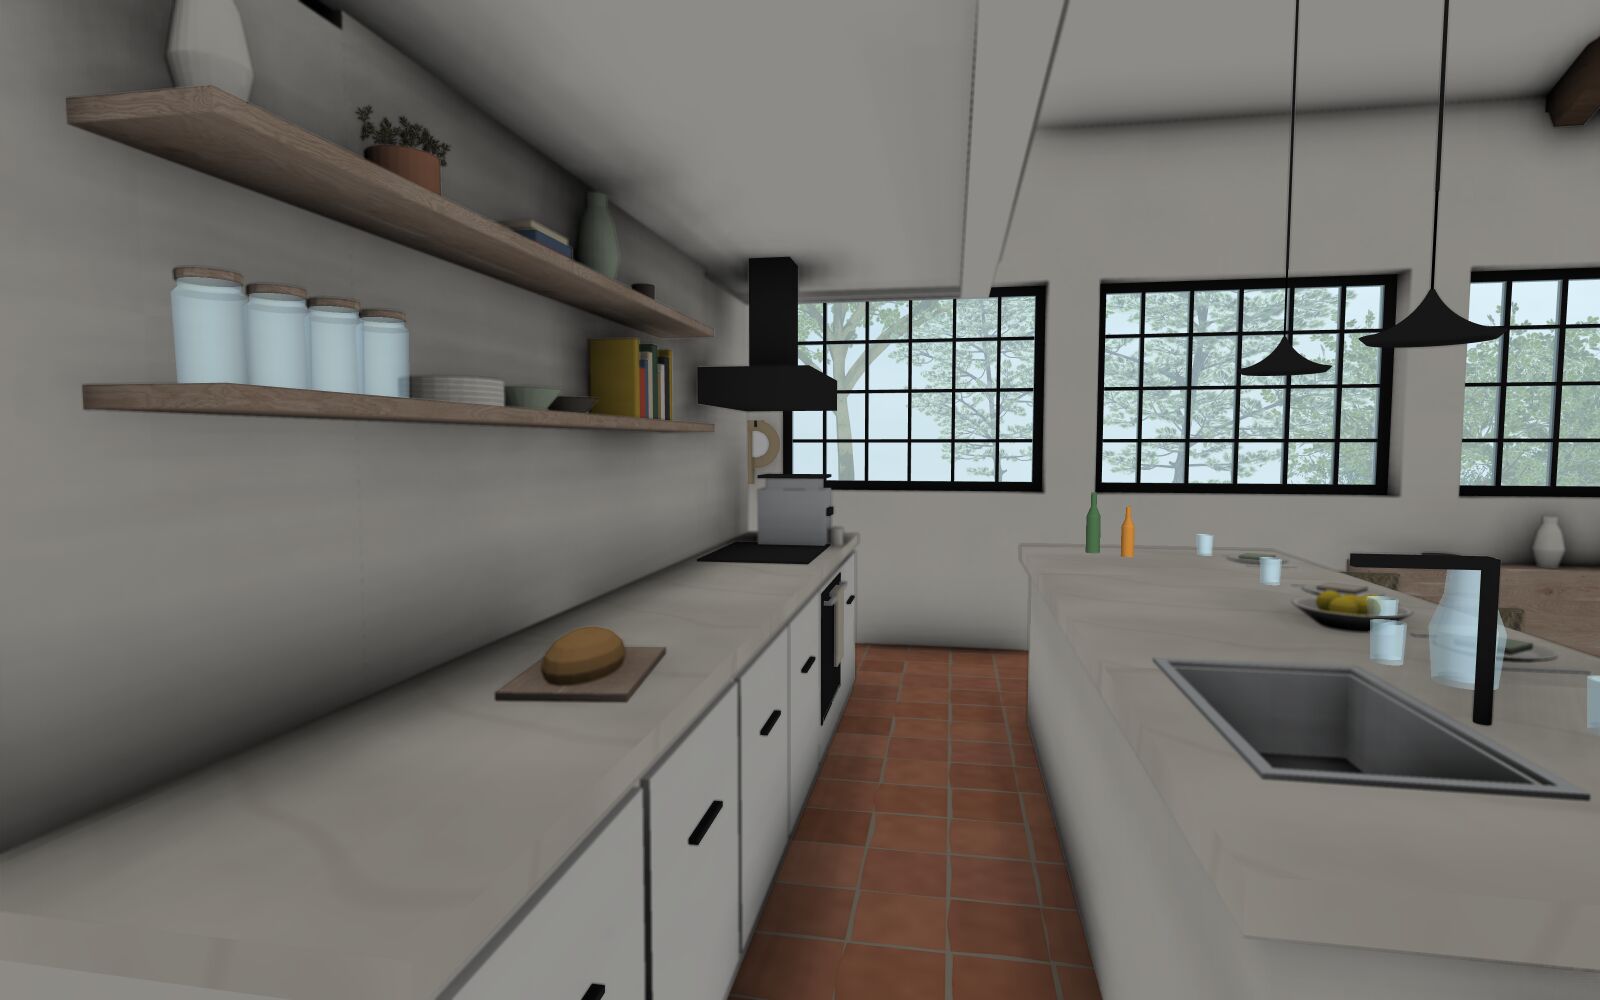
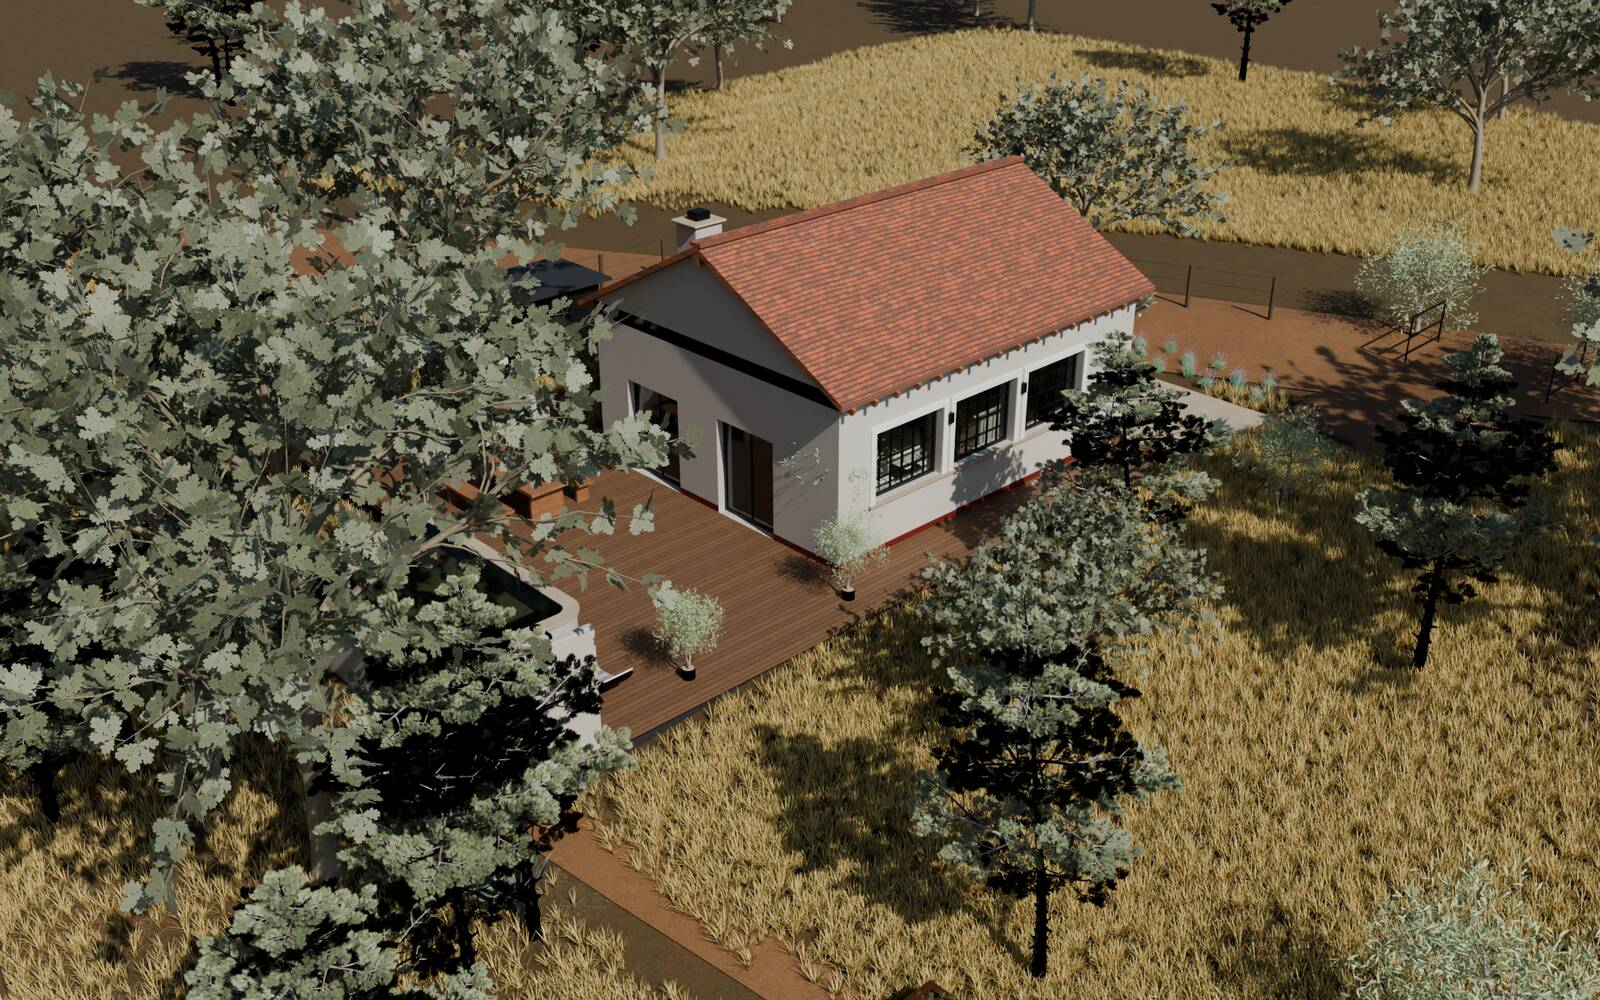
For realism, Claude rebuilt an earlier version of the house in Blender with Python and rendered it with Cycles. Fifteen images took about a minute and a half each:
What worked, what didn't
What worked:
- The model as code. Every option is a version, every change is a diff, and nothing depends on my SketchUp skills, which are close to zero.
- Real inputs beat clever guessing. The model was vague until the survey and the drawings arrived, and exact after.
- Sketch first. Asking for a quick plan before each big change caught misunderstandings before they cost a build.
- Fixed cameras. The same views every build made changes easy to compare, for Claude and for me.
What didn't:
- Walkways. The agent kept forgetting that people need room to walk past a bed, a counter or a stair. I had to say it again and again.
- Headless SketchUp is fragile. A welcome window, an open file or a locked screen can stall a build silently. The scripts write their own error log because SketchUp shows nothing.
- 3D Warehouse is uneven. Some models are kilometres wide, some trees are flat photos.
- SketchUp to Blender was too slow. Exporting the full model produced 11 million triangles and a 1.2 GB file, so the photoreal renders stayed on the earlier Blender rebuild.
- The walkthrough video. Rendering it frame by frame would have taken hours, so the tour plays live inside SketchUp and I record the screen.
Six evenings and about 34 versions later, I had a layout I'd call the best we'd done, and a clear picture of the options we turned down.